Eyeliner is not something I wear every day, but it is super fun to play around with! I don’t take the time to line my eyes on a normal work day – but I do go the extra mile whenever I’m feeling like something a little extra!
I’m going to go through all the basics for you in this post – my fave eyeliner products, the techniques I utilize and some tips and tricks!
So let’s jump in to the good stuff.
Eyeliner Products
Maybelline Eye Studio Gel Liner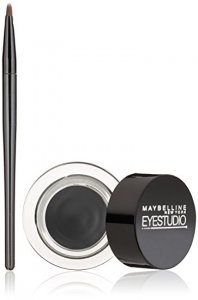
I thought I would start with my absolute favorite. This Maybelline Gel Liner is the eyeliner I use 99% of the time (if I am wearing eyeliner at all)! Gel liner does take some getting used to if you have not used it a lot. However, now that I know how it works, I seriously cannot use anything else! I could apply this eyeliner in my sleep, I do it so much.
The eyeliner comes in a pot, with a small precise brush for application. You simply dip the brush in the pot of gel liner and use it to apply a thin line on your eyes. This liner is my favorite to use if I’m just applying a thin line, or if I’m doing a full-on wing.
I always purchase this product in the shade “blackest black”, which is one of my favorite things about it. The color is so dark and black, it looks very intense and precise without much effort! I hate when liners show up light or almost “gray”…and this one is pure black.
Kat Von D Tattoo Liner
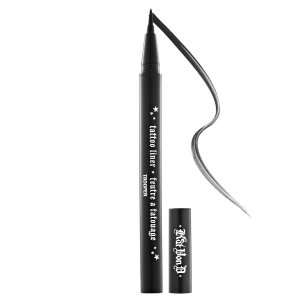
This is one of my favorite liquid eyeliners of all time. Again, this product is super black, super precise, and super easy to apply! Liquid eyeliner is another great option for doing a wing liner. This product comes with a brush tip that comes to a perfect point, which makes applying a thin line a breeze.
Maybelline Line Stiletto Liquid Eyeliner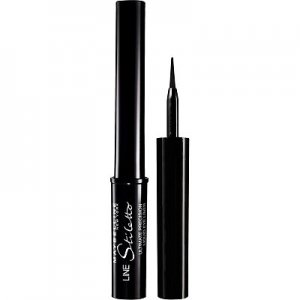
I think this eyeliner is extremely comparable to the Kat Von D liner mentioned above – just at a much better price! The Maybelline liquid liner uses a felt tip (versus a brush tip that Kat Von D uses), but it still comes to a perfect point. If you are looking for a beautiful liquid liner on a budget, this one’s your guy!
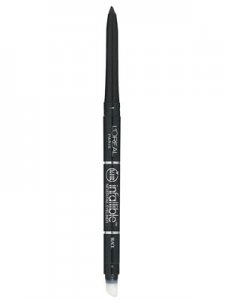 L’Oreal Paris Infallible Never Fail Eyeliner
Most people are probably used to using a simple pencil liner for their everyday looks, but it is actually the kind I use the least! The only time I use a pencil liner is when I want to achieve a more “smokey/smudgy” look. Whenever I want to do that, I love this L’Oreal liner for pretty much the same reasons I love the other liners – it is super black and easy to apply! A lot of pencil liners can end up being kind of dry and flaky and doesn’t apply smoothly. However, this is extremely soft and creamy, which makes it easy to apply and smudge out how I want (like I’ll explain later).
Techniques
Winged
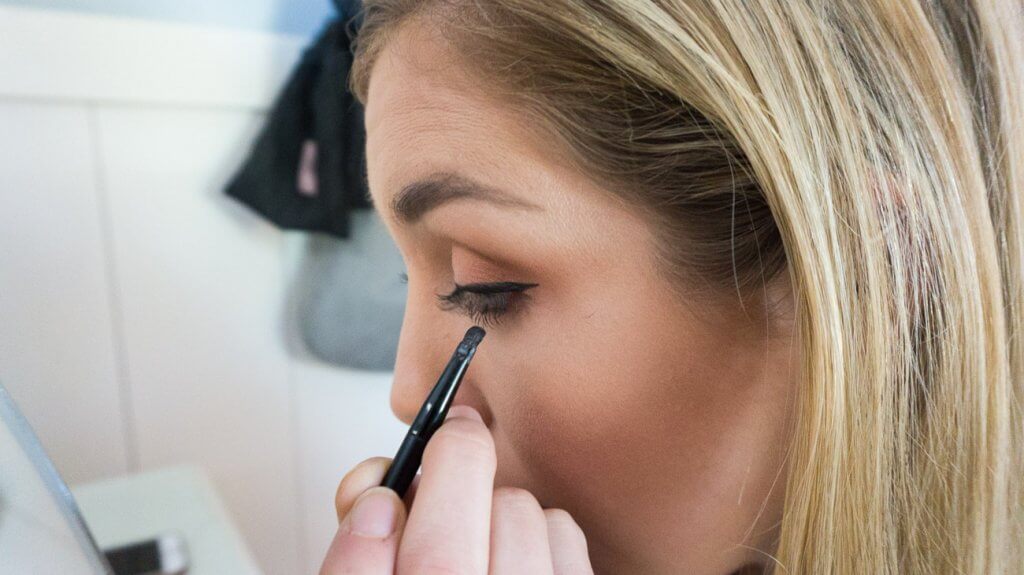 Pretty much every time I wear eyeliner, I do at least some sort of a wing. Depending on how dramatic I want to go, I will either make the wing larger or keep it simple. Like I said earlier, I always use the Maybelline Gel Liner to achieve this look!
Many people like to use a liquid liner (like the Kat Von D tattoo or the Maybelline Stilleto) to achieve a winged liner. Liquid liners typically make it simple to create a sharp wing, since they come to a precise tip. However, I like to use the Maybelline gel liner, simply because I have gotten so used to it and can do it so quickly!
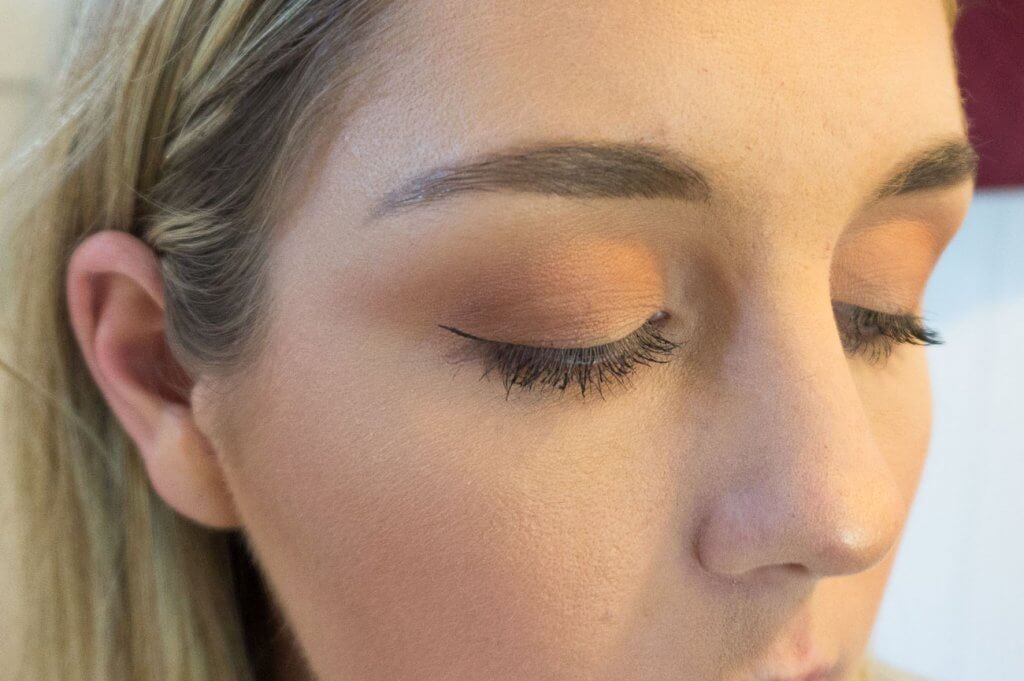
No matter what product you choose to use, it will probably take you a few times to get used to creating a sharp, even wing! Here are the steps I try to follow:
-
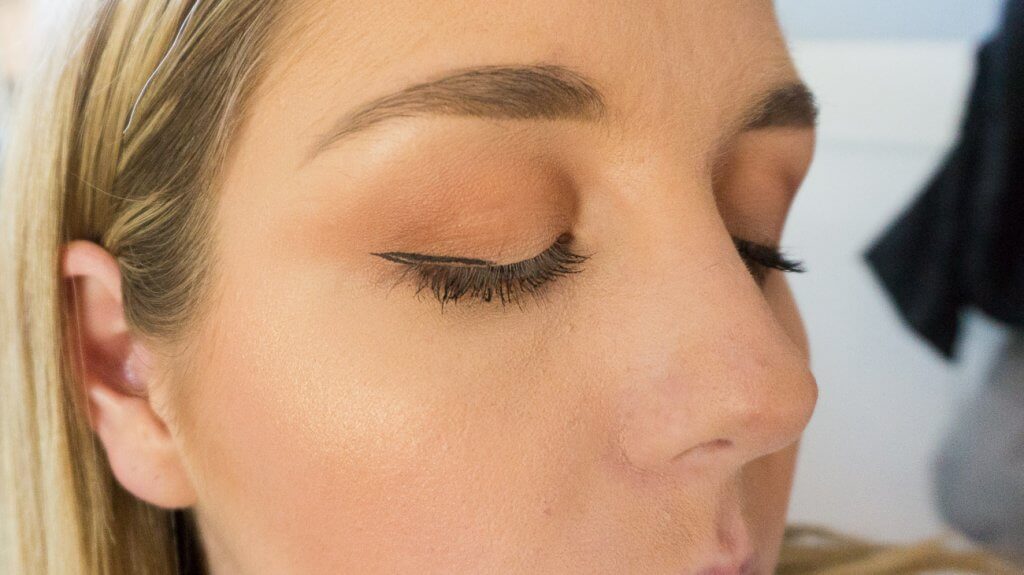
Draw a small line on the outer tip of your eye, pointing upward toward the tail end of your eyebrow.
-
Connect the line at the point, and drag it back down to connect to your lid, creating a sharp point.
-
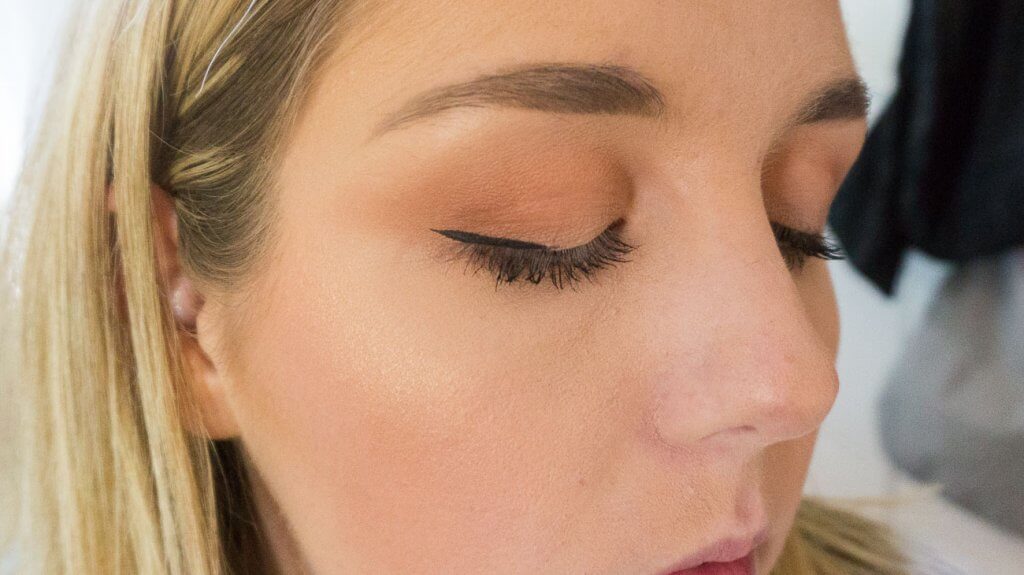
Fill in that triangle you just created.
-
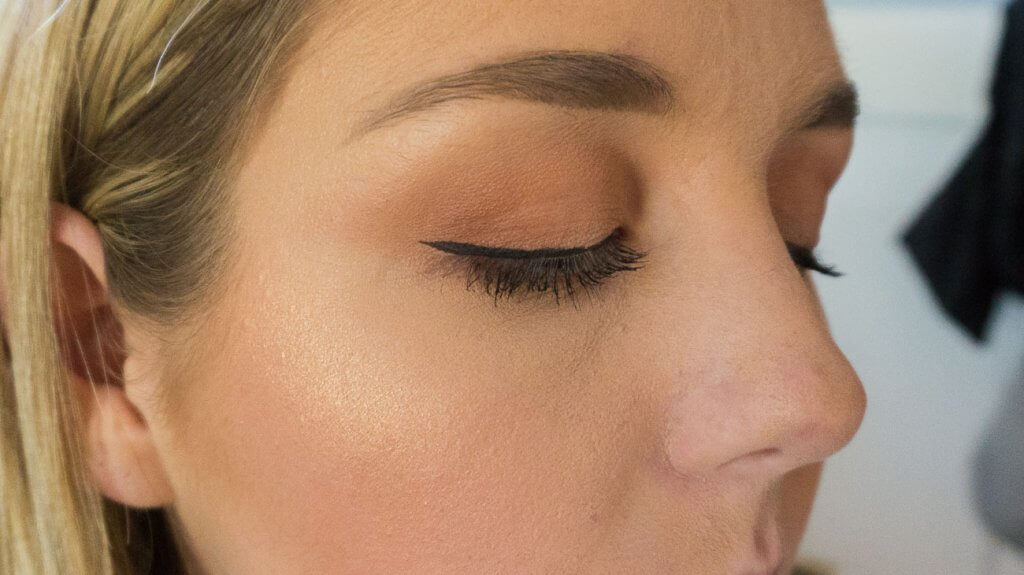
Continue the line across your lid, slowly getting thinner with your liner the closer you get to the inner corner of your eye.
-
(Optional: I only do this when my liner got a bit messy during application!) Clean up the line with a small amount of liquid concealer and a precise shader brush. This will also help make the point a bit sharper!
Again, practice makes perfect so don’t give up if you don’t achieve this technique on the first try!
Classic
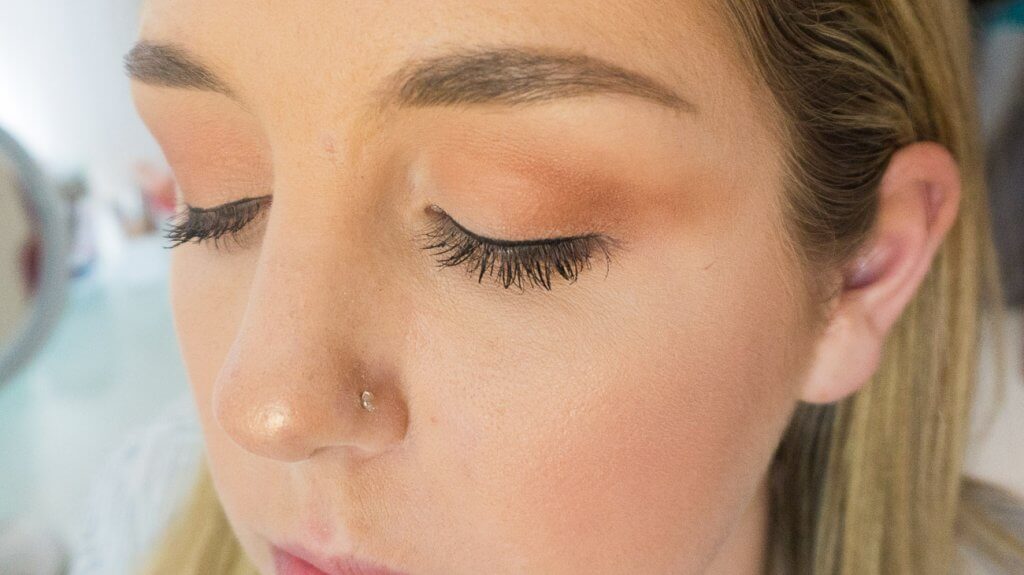
Sometimes I like to keep it very simple by just doing a straight line across the top of my lid. (Fun fact: I actually never apply liner on my bottom lash line. I always stick with the top part of my lid, and use different colors of smudged shadow on my lower lash line!)
When doing this technique, liquid or gel liner will be your best bet! Simply draw a thin line across the top of your lid, making the liner slightly thicker on the outside, and thinner toward the inner corner.
 Smokey/Smudgey
Every once in awhile, I want to go for a really smoky look, and that’s when I break out my favorite pencil liner! I apply a line across the top of my lid with the pencil, and I don’t really worry about making it precise or straight. The messier, the better!
I then take a dark black shadow, and a small blender brush, and smudge the shadow into my liner, slowly fading it up to my lid and blending it out as evenly as possible. I usually finish off this look with a full-blown smokey eye – with other shadows to blend out the entire look!

