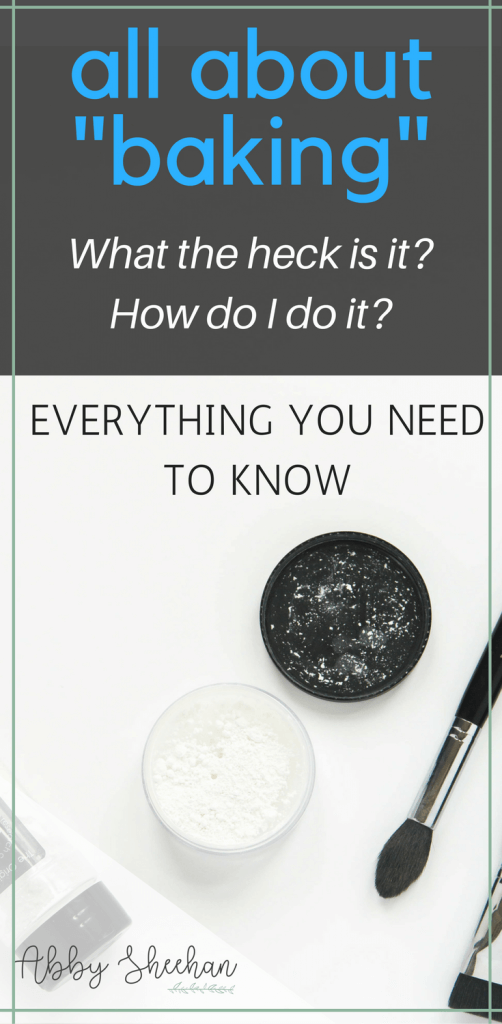
 If you haven’t already, I would recommend reading my post all about my foundation routine! I go into detail about all the steps of getting my face ready to go – and baking is one of those steps. I wanted to make a separate post all about baking since it’s kinda a weird topic and I want to explain it thoroughly!
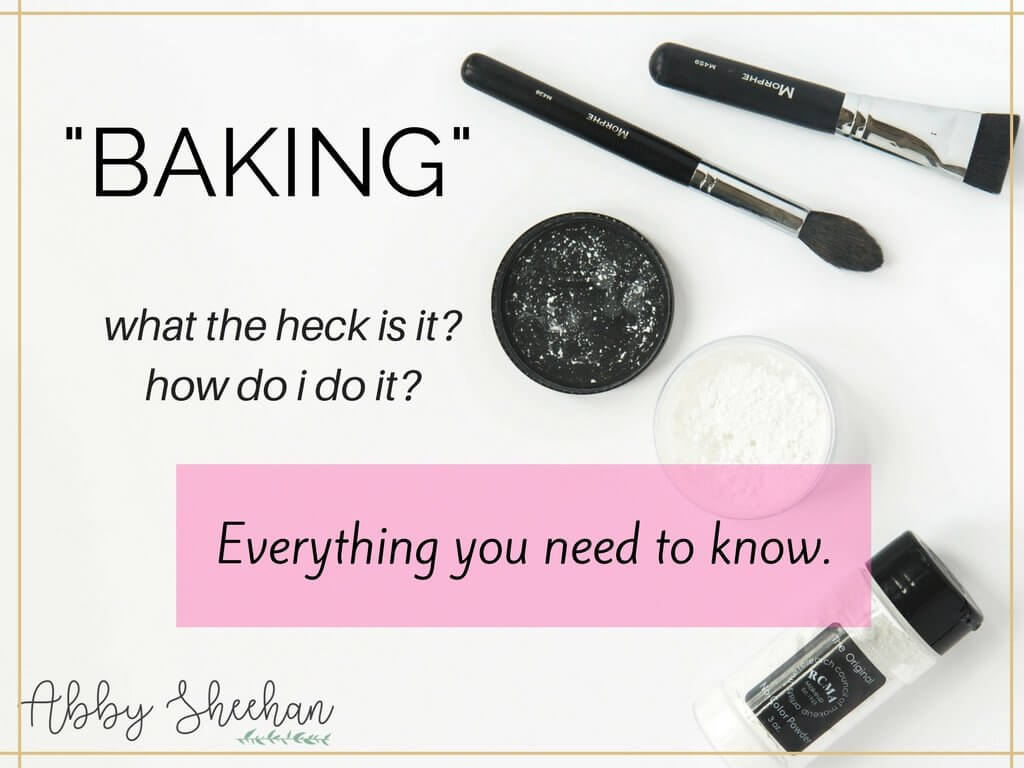
What is baking?
If you follow the makeup scene on blogs and YouTube, you may have noticed many professionals talking about “baking” their face makeup.
Ok. What is this crazy trend?
It seems kind of weird and “out there”…especially if you’re still a beginner at makeup. But, trust me, it is super easy, quick, and seriously is a LIFE SAVER for my makeup!
Baking is essentially setting your face makeup (foundation, concealer, etc.) with a thick translucent powder and then letting the powder “bake” on your face for a couple minutes. When the powder is setting on top of your face makeup, it actually traps your body heat in between the makeup and the powder. This literally causes the makeup to “bake” onto your skin, which makes it stay in place all day long! After a minute or two of baking on your face, simply dust the powder off for a super matte, super clean, super-not-going-anywhere makeup look.
We can thank Drag Queens and theatre people for coming up with this technique long ago, to help their makeup stay put on stage under the hot lights!
Again, if you have read my foundation routine post, you know I always talk about how oily my skin is.
Because it seriously is.
I have gotten so used to baking my face, and so used to how matte my skin stays all day when I do, that I can’t go a day without it now! Seriously…no oil shines through when I use this technique. Whenever I get lazy or rushed in the morning and don’t bake my face, I notice a difference after only an hour or two into my day (and not a good difference).
The Products
Alright…so what’s the actual product I use for this?
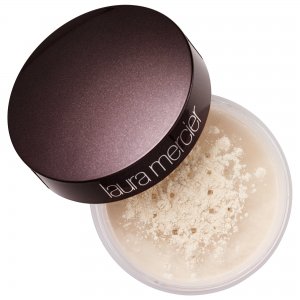
When I first started using this technique regularly, I was all about the Laura Mercier Translucent Setting Powder. This stuff really is bomb and works great as a translucent baking powder. However, I am definitely not in love with the price. I have also heard many girls with dry skin talk about how they feel this powder dries their skin out too much. I don’t have this particular problem with it, but again, I really just don’t want to pay that much money for some powder.
I have now found a powder that does the job just as well and won’t break the bank! Enter: RCMA No Color Translucent Powder.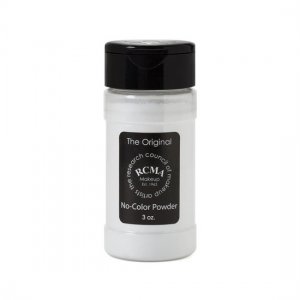
Want to stay matte all day long? THIS. STUFF. WILL. DO. THAT.
Seriously, I love this powder. Even if I don’t have time to fully bake my face in the morning, I will still use this powder to set my makeup to lock it in place all day long.
The only thing I don’t love about this product is the packaging. According to the company, this powder has been a favorite by Hollywood makeup artists for years, so they have always kept the same original packaging. However, to really get enough product to use with this packaging, you have to unscrew the top and dump some into the lid.
Doing this wastes so much product and is an absolute mess. I would always have to carefully put back any powder I didn’t use, and it would just get everywhere.
Thankfully, I found an easy solution! I purchased these empty powder makeup containers from Amazon to keep the product in! I simply poured as much as would fit into this empty plastic container, and kept the rest of the powder in the original RCMA packaging until I need to use the rest. This is so much less mess and easier to use when it’s in an easy to access compact.
Ok so how do I do this…
I have applied this powder with two different tools, and both have worked great for me!
I have used my beauty sponge many times to apply baking powder onto my face. I keep this sponge damp (just like when using it to apply my concealer), and use it to gently press the powder onto my skin. (Oh, and read more about how I use beauty sponge’s here!)
I have also used the Morphe M438 brush to press the powder into my skin the same way. Both of these tools have worked great for application!
Whether I am using my beauty sponge, or using the M438 brush, I apply the powder the same way! Start by pressing the powder underneath your eyes, to help your concealer not crease and stay in place! Next, press some powder in your T-Zone – the most oily part of your face. This includes the middle of your forehead, your nose and your chin. If there are any other areas of your face that get super oily or you are worried may not hold makeup well, apply some there as well!
After I apply the powder, I want to let it set to start the actual “baking” process! I usually take this time to do my eyebrows while I am waiting for the powder to set. (Read all about that process here!)
After the powder has had time to set for a few minutes, simply brush it all away with a big fluffy powder brush! It may seem like you have a ton of powder on your face and it’s going to look crazy and ruin your makeup. I promise this won’t happen! The powder brushes away extremely easy, and you can never even tell it was there – besides having a matte, clean, flawless face underneath!
As I said earlier – don’t let this “fancy” technique scare you! It’s super easy to accomplish and will seriously change the way your makeup stays all day long. This technique is especially helpful for any big day in your life (wedding day, special ceremony, etc.)
Let me know how this works for you and if you have any other tips to get your makeup to stay all day long!
Want to save this post for later? Save this pin below!